Author: Porscha Teraz

  • Start Your Dream Salon: Legal Steps to Grand Opening

    Start Your Dream Salon: Legal Steps to Grand Opening

    cosmetic store with desk and cabinet
    Photo by Max Vakhtbovych on Pexels.com

    I don’t know one person in this industry who doesn’t want their own salon. Not saying that there aren’t people who just enjoy doing hair and that’s it. I just don’t know them.

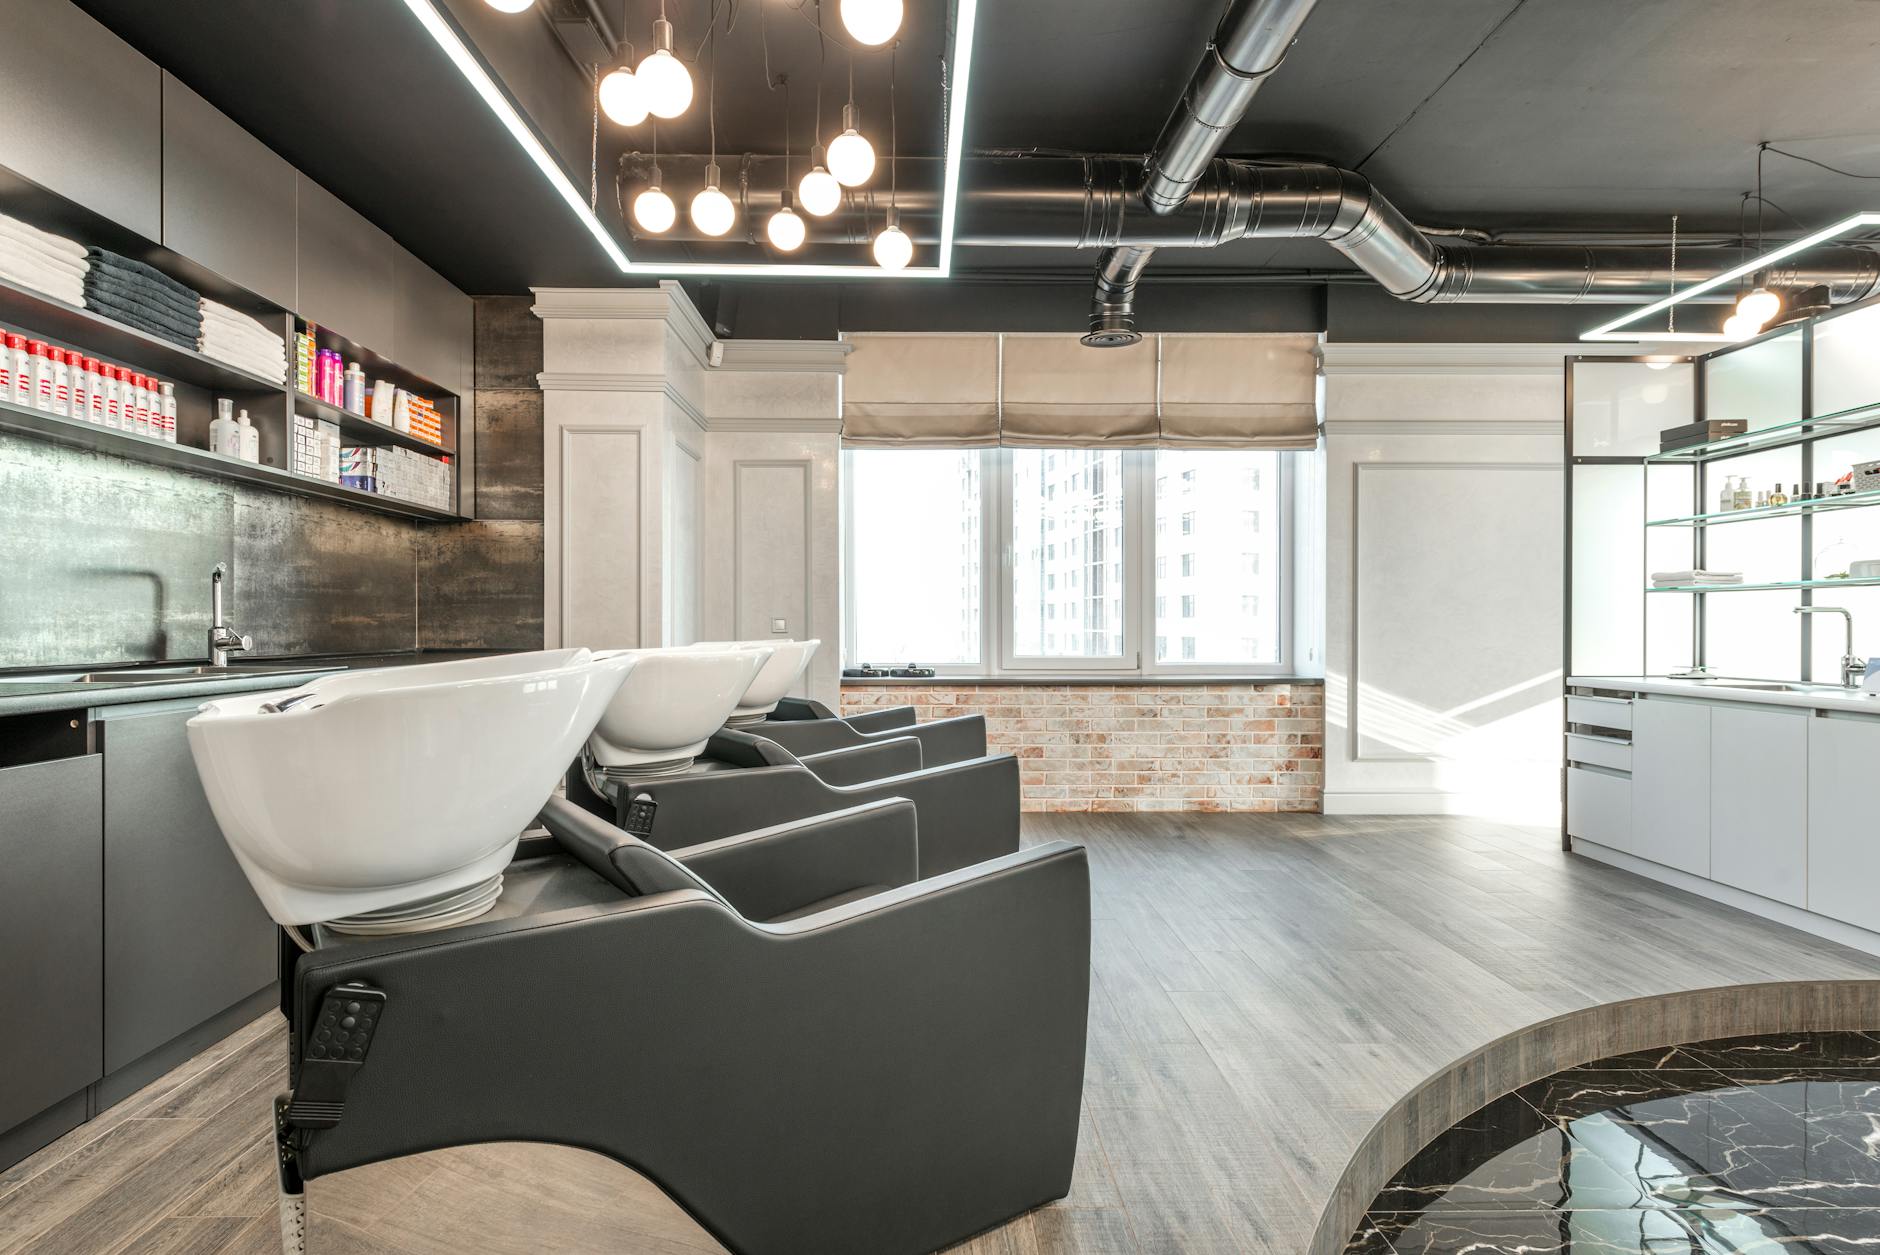
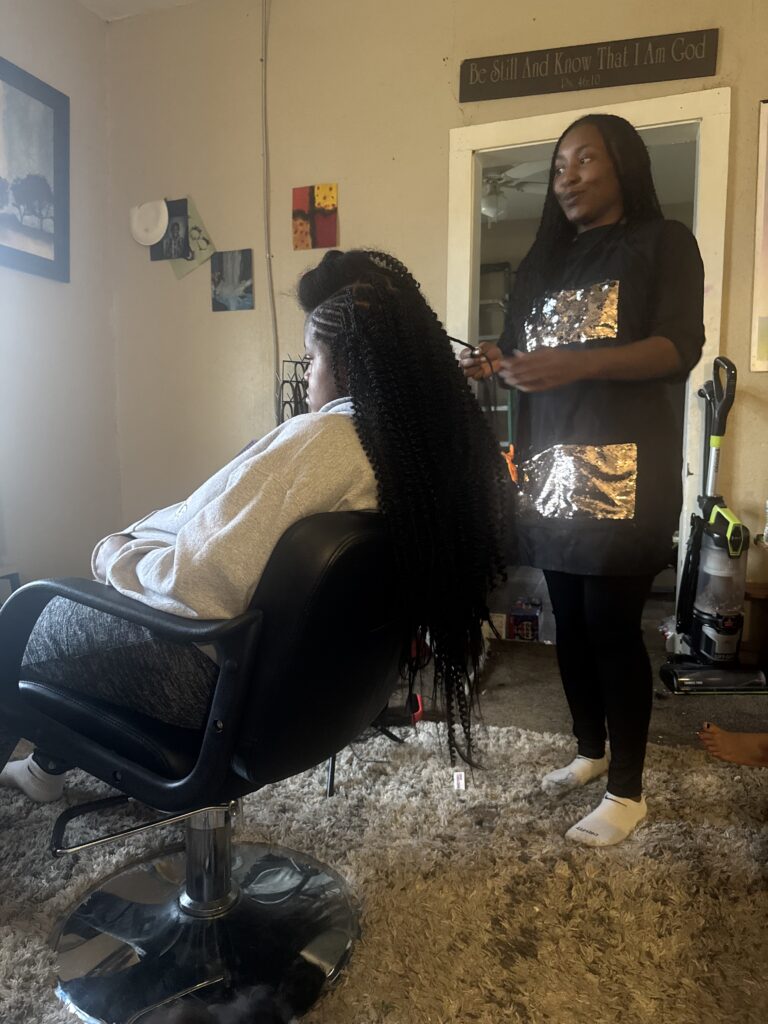
    Since the beginning of my journey a goal of mines was to always have my own salon or suite/studio. Right now I have my own little suite/studio nestled in my home. And I know In-home salons have a bad reputation, but we all have to start somewhere. Plus it’s basically FREE and who can pass that up.

    The most important thing though when setting up shop is to make sure that legally your business is solid. Trust you have no time for errors. Take the extra precautions and time to plan accordingly.

    Patience will bring you success! And you are going to need to lean on that and your faith to get through. But no worries I did the research for you so you don’t have to. (I still recommend that you do more research).

    Let’s create that successful business!

    Legal Structures

    Since we are just starting our business journey, we are only going to focus on the two small business legal structures. Both structures are easy to set up and have a low start up cost. They are: Sole Proprietorship or Limited Liability Company (LLC).

    What is a Sole Proprietorship?

    A sole proprietorship means that you are the only person who owns your business. This also means that you and your business are one person/entity. This is by far the easiest way to set up your business. It is also the most common way that many business owners get or have gotten their start.

    Let’s look at some benefits and disadvantages of operating in this structure.

    Benefits

    • Low Cost. Your overall cost is low because you do not have to register a sole proprietorship. Reason: You are operating under your name and social. If you want to be a sole proprietorship but don’t want to use your name, you can choose to register a DBA. DBA stands for “Doing Business As”. You can do this on your Secretary of State website. Linked is Oklahoma’s website. https://www.sos.ok.gov/corp/filing.aspx
    • Tax Filing. Filing taxes every year will be easy because you will file taxes normally. Just please go to a tax preparer that knows how to file business taxes. DO NOT TRY TO DO THIS ON YOUR OWN!

    If you are looking for someone to help you with your taxes go to Kayla Buchanan. She is amazing! You can start the process at https://www.cognitoforms.com/FineFinancialSolutions50/FFS20252026TaxClientIntakeFormCorrect ***I do not receive commission for promoting this business. Just one small business helping another!***

    • You run EVERYTHING. And last but not least you have total control when operating as a sole proprietorship.

    Disadvantages

    • Personal Assets. Remember when I told you that you and the business are one under this structure. Well the down fall to that is that if your business gets sued everything you own is at risk. This is the only major disadvantage that you would have to be concerned with.
    girl getting her hair braided
    boho braids by Porscha Teraz

    What is a Limited Liability Company (LLC)?

    A limited liability company is what I am working towards now. It is a business structure that allows you all the freedom like a sole proprietorship. The only difference is that with this particular structure your assets are protected.

    So, let’s get into these benefits and disadvantages of an LLC.

    Benefits

    • Asset Protection. Your personal assets are protected when you have a limited liability company.
    • Single or Multi- Member. You can go into this structure as the sole owner or you can start a business with a college or two.

    Disadvantages

    • State Fees. Depending on where you stay you might have some state related fees that you will have to pay. Please visit your Secretary of State website to see if there are any fees that you will need to pay. Linked is Oklahoma’s website https://www.sos.ok.gov/corp/filing.aspx

    No matter which business structure you decide to work under, make sure it is the right fit for you.

    Step – by – Step Checklist

    Below is all the information you will need to set up your salon or suite/studio.

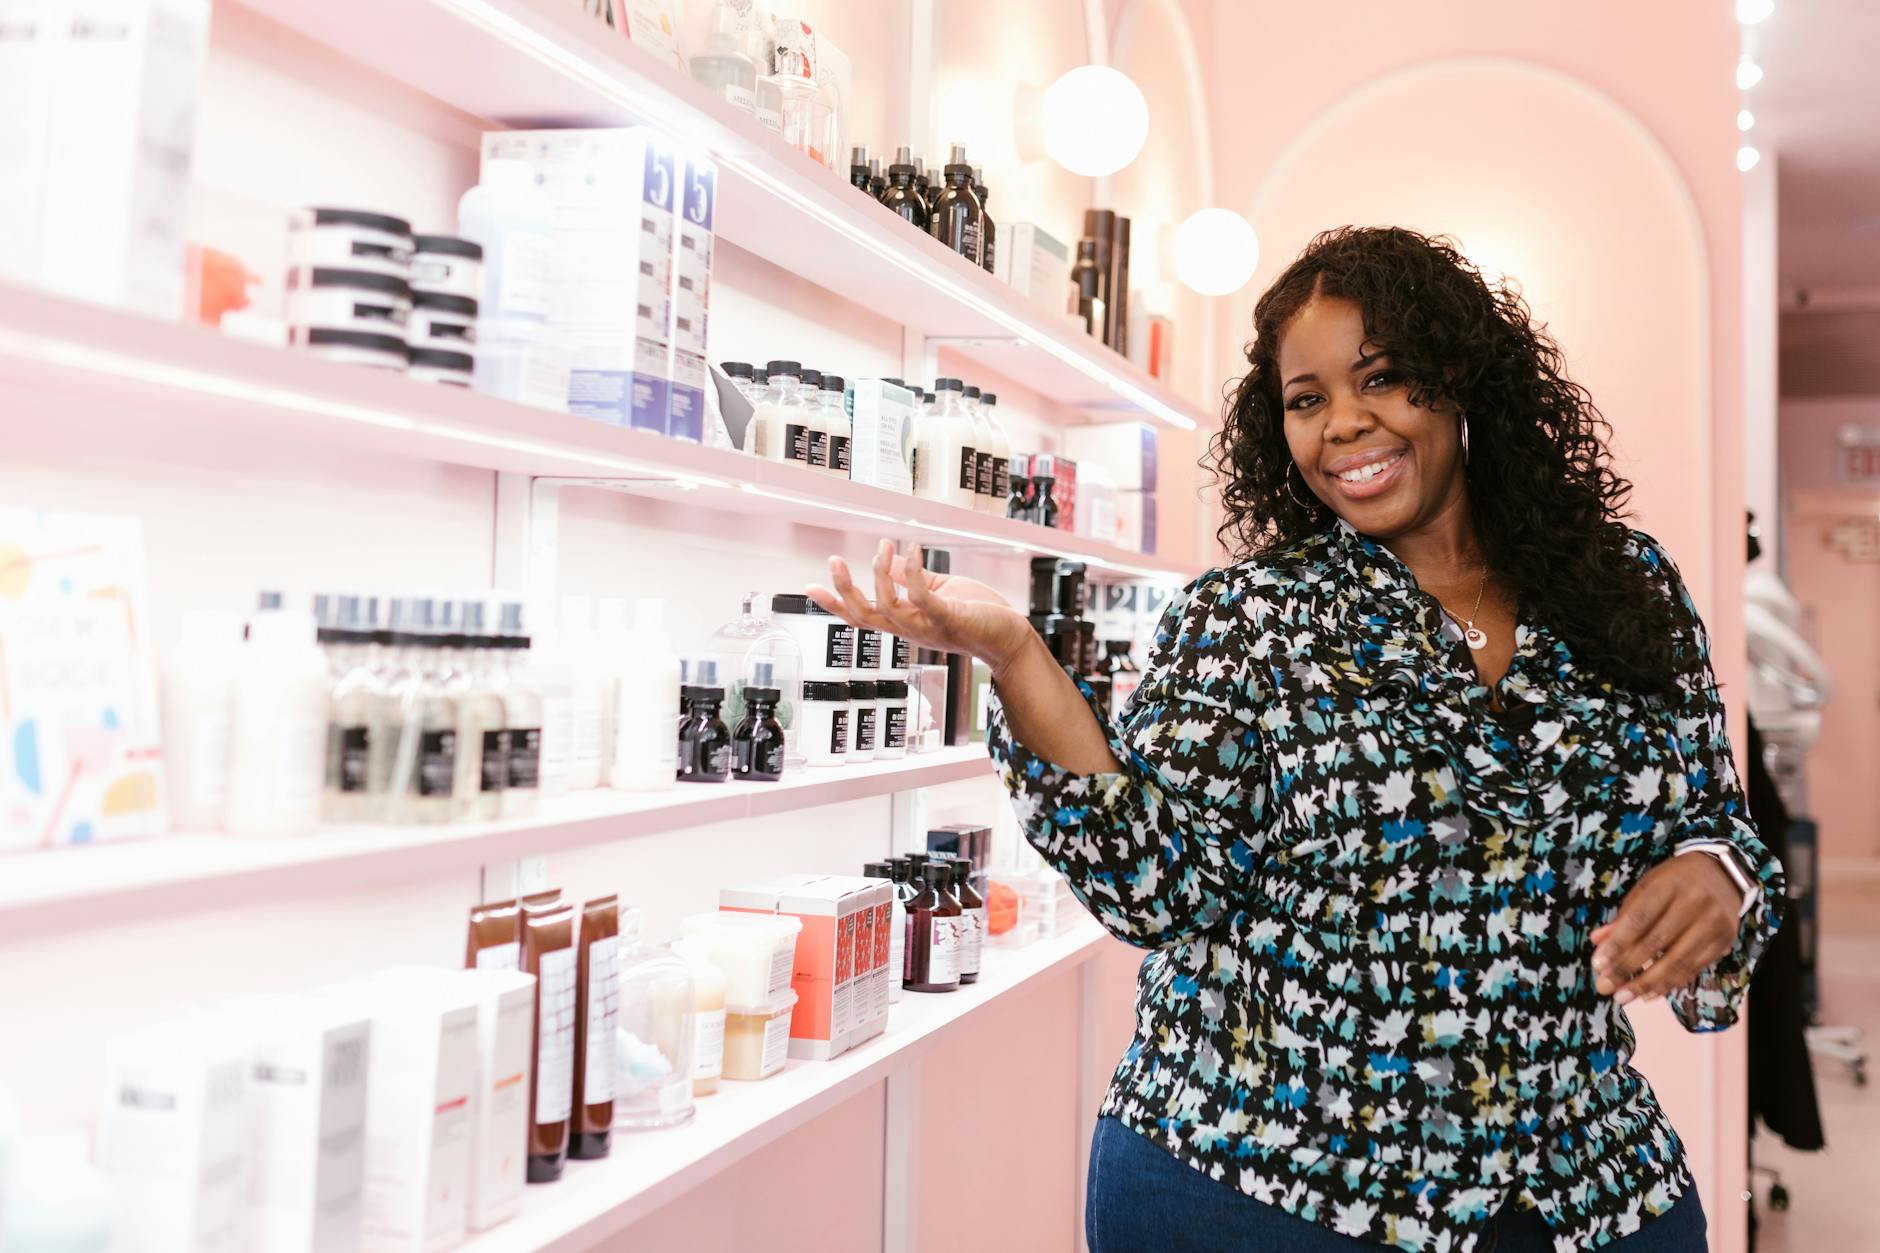
    1. Your Niche. What is your business specialty?
    2. Business Structure. Will your business operate as a Sole Proprietorship or Limited Liability Company (LLC)?
    3. Business Name, Logo, and Color Palette. Choose what feels right to you. While opinions are good, at the end of the day your brand/salon needs to represent you. If you need help with creating a logo or choosing a color palette, try working with a graphic designer.
    4. Business Plan. Look at your business plan as a guide to how your business will run. THIS IS IMPORTANT!!! Do not put this off. You can work on this throughout your timed of opening, as some information may not be available at first.
    5. Register Your Business. Now that you have your business plan started and a name you want to register your business with the state. Applies to anyone who is deciding to operate as an LLC. Please go to your state secretary website to register.
    6. Location. Where will your business be located. Now that your business is registered, you want to focus on where you will work. Will you be home based? Will you pay booth rent or rent a suite? Will you be purchasing a building?
    7. Meet State Board, State, County, and City Requirements. No matter what you should always be following state board rules and requirements. Depending on which structure you are under you need to make sure you meet all state, county, and city requirements. This includes any design features and equipment and any inspections required.
    8. Market and Open for Business. Market your business on social media platforms, advertise in the newspaper, pass out flyers and cards. Make sure all policies and your price list is printed out and visible for all customers and open for business.

    Starting a business can be stressful and takes time and dedication. But I have faith in you to get started and succeed. I have given you the steps, now you have to put in the work. You determine if you succeed or fail. Let’s all succeed!

    Thank you for taking the time to read our blogs. We strive to bring you updated hair and business related blogs. Please subscribe to our email list to find out when our next article will be available!

  • Winter Hair Care Tips for Natural Hair

    Winter Hair Care Tips for Natural Hair

    woman wearing black and brown coat
    Photo by Sebastian Libuda on Pexels.com

    Winter is my favorite season! Mainly because it gives me a reason to wear my oversize hoodie and my favorite sweaters. It also gives me a reason to really just throw on a hat and go. Winter is just cozy to me. For my hair on the other hand, not so much.

    During the winter time our hair tends to dry out and become brittle. When you are first learning to love your curls this can be frustrating. Especially, if it’s your first winter with your natural hair. Don’t worry though, I got you. We are going to get through this together. But first let’s talk about the mistakes most naturalists make during the winter time.


    1. Not Moisturizing.

    Not moisturizing enough is the main mistake I see clients make. Making sure your hair stays moisturized helps to keep your hair from breaking off. If you have not started utilizing the L.O.C. Method, start. This method helps you LOCK moisture into your hair.

    a beautiful woman posing beside a shelf with assorted beauty products
    Photo by RDNE Stock project on Pexels.com

    2. Not Protecting Your Hair.

    Not protecting your hair during any time is a no-no in my book. You should already be incorporating protective styles into your routine. And you should definitely be protecting your hair at night. When it comes to your protective styles try to wear twist-outs or even braids. When it comes to what you do at night, you need to create a routine. You also need to make sure that you are wearing a silk or satin bonnet to sleep and that you have a silk or satin pillowcase.

    3. Excessive Heat Use.

    This is another no-no in my book no matter what. I know that because it is winter and silk presses last longer, most people tend to go over board. You don’t want to overly use heat tools on your hair anytime. This causes damage. Opt for using your heat tools and then wrapping your hair at night to make your silk press last without applying additional heat.

    4. Wearing Protective Styles Too Long.

    When you put your hair up in a protective style there are usually unspoken rules of how long it should stay up. Honestly I always tell my clients to leave their hair up for a minimum of 4 weeks and a maximum of 8 weeks. Leaving your style up too long can sometimes cause issues like matting.

    Multicolored box braids styled with pink/black bow by Porscha Teraz
    Photo taken by Porscha T

    5. Using the wrong products.

    The products you use is everything. Using the wrong type of products for what your hair needs is not good. You want to make sure you are listening to your hair and watching how it responds to the products you are using. Remember your products should change depending on the style you are wearing and the needs of your hair. If your hair is dry use heavy moisturizing products.


    In my opinion the winter time should be when your hair flourishes. For me this is the time that I try to make sure that I am only wearing protective styles. I make sure that I am moisturizing and a rule of mine is if I ask myself “Have I conditioned my hair this week?” Then that means I probably didn’t and need to.

    Ultimately you will be and are your hair’s biggest enemy. You set the environment for your hair to thrive. Yes, the weather and the elements play apart in your hair’s health, but so does the food you eat and the products you use.


    Winter Fixes: Things you can do for better hair health

    1. Water In-take. Drink more water. You should be drinking water everyday.
    2. Deep Condition. Deep condition your hair weekly. In the winter I recommend doing this twice a week, but please do what you feel is best for your hair.
    3. Silk or Satin. Use silk or satin hats to protect your hair when out in the cold. Sleep on a silk or satin pillow case. Wear a silk or satin bonnet. Invest in silk or satin hair ties for ponytails, braids, etc.
    4. Protective Styles. Wear protective hairstyles. Remember do not wear them too long.
    5. Products. Now I say that because winter is drying you should go for heavier butters and oils. But it all depends on your hair. Just make sure you are using the correct products for your hair needs.

    You Define Your Curls!

    Follow us on TikTok @prettyandtextured

    We share BTS, Tips, and now TUTORIALS!

    Share your hair care journey stories in the comments.

  • Why Cosmetology School Fails Natural Hair

    Why Cosmetology School Fails Natural Hair

    Everyone knows that in order to really make it as a hairstylist, you have to have your cosmetology license. Yes, I know that as natural stylist, in most states you don’t have to have a license or certificate to practice your craft. But take a moment and really think about where you want your hairstyling career to be in the next 5 years. I am hoping that if you are not fully licensed that you are by then.

    Cosmetology school is a great experience and you actually learn a ton of things that you don’t even think is relevant. It’s a great way to meet other people with a similar mindset as you and to experience realms of the beauty world you didn’t think to explore. Cosmetology school is a great starting point, but it’s there to help you pass your state test and that’s it!


    Cosmetology School vs. Natural Hair

    Cosmetology school teaches you the basics of doing hair. You learn how to cut in your angles and how to frame the face. You learn how to mix color correctly (it depends on the brand). You even learn braiding and extensions. Well you are suppose too and to an extent you do. But what happens if you get a teacher who knows nothing about textured hair types?

    Well if you are trying to step in the textured hair realm, it can be frustrating. When I was in school my teacher was not well versed in textured hair types. So, when we got to the section about braids and weaves, I demonstrated to the first year students how to actually achieve some of the looks. As a student I loved having the opportunity to showcase the skills I learned over the years. However as a graduate I realize that we need more representation for the textured hair community in the cosmetology schools.

    Textured hair is not something that we really talked about in school. It seemed more like we did a drive -by through the textured hair section. Even though I already knew how to do everything we were learning that week, most of the girls were struggling. Mainly, because they just simply didn’t understand.

    The main problem that we see in cosmetology schools is that you don’t get taught what products to use and when to use them. They also don’t have the clientele needed to actually practice on textured hair types and then you are dealing with the lack of knowledge amongst some of the educators. And those are just some of the problems.


    Ways to Fill the Gap

    The gap can be filled and it is being filled slowly. I have seen more classes and workshops for the natural hair community, but when it comes to school, there isn’t really enough representation. Below is a few ways that we as natural stylist can help fill this gap.

    1. Volunteer at your cosmetology school. If you are wanting to start offering classes or workshops, start at your old school. This will help you develop and create a structure. Now in most states you need a Master Stylist license in order to actually teach, but you can put on demonstrations. Basically you just show the class how to achieve certain looks or even talk about proper product use. The choice is yours just make sure you are abiding by all your state board’s requirements.
    2. Get Master Stylist License. Now if your goal is to actually teach at a cosmetology school, you need to get your Master Stylist License (this may not be the name for your state. Check your local state board website to see what your requirements to become a licensed teacher are.)

    If you are a current cosmetology student, good luck and don’t give up. There are classes and workshops out there to help you sharpen your natural hair skills.

    If you are a stylist, start offering demonstration services for free or go to the schools and just talk with the students. I say start with the school you attended, they will more than likely let you help out.

    Just another day at Cosmetology School. Taken from Great Plains Technology Center Facebook.

    Marketing photo for the second year students. We was trying to get more clients

  • The Guide To Understanding 3a – 4c Hair Porosity

    The Guide To Understanding 3a – 4c Hair Porosity

    3–5 minutes

    WHAT IS POROSITY?

    Porosity is defined as how well your hair absorbs water or moisture. Your hair needs water like we need oxygen to survive. Water is the main ingredient you will look for when you are looking for hair products.

    When it comes to determining your hair’s porosity, you can do a strand test at home. The test will tell you if you have low, medium, or high porosity.

    POROSITY TYPES

    The main difference between the porosity types is how much the cuticle is open or in some cases closed. There are three main porosity levels. They are low, medium/normal, high porosity.

    1. Low Porosity. Having low porosity means that your cuticle layer is closed or tightly compacted. This makes it hard for water or moisture to penetrate the hair strands. It is recommended to use lightweight hair products when dealing with this porosity type.
    2. Medium/ Normal Porosity. When it comes to medium or normal porosity, your cuticle is slightly opened. This is where you want to be when it comes to porosity levels. This means that your hair is capable of gathering the moisture needed for your hair and keeping it there.
    3. High Porosity. On the other hand high porosity means that the cuticle layer is completely open. So, while your hair is absorbing the water or moisture, it is losing it just as fast.

    TESTING YOUR HAIR’S POROSITY TYPE

    If you have no clue what your hair’s porosity type is, you can do a simple at home test. There are three different home test you can perform to get the results. But the most common test is “The Float Test”.

    1. Float Test. You want to start this process off with clean hair. It will give you a better result because there is no product on your hair. You want to use room temperature water in a glass cup. It gives you a better visual of the hair strand(s). Take a few strands of hair and place them into the glass cup of water. Now you just need to wait and see how the hair reacts to the water.

    High Porosity. Sinks to the bottom as soon as hair strands are placed into water.

    Medium/ Normal Porosity. The hair will float for a few seconds, then it will slowly sink to the bottom of the glass.

    Low Porosity. The hair strands will just float on top of the water.

    2. Spray Bottle Test. Same as before you want to perform this test on clean hair. You are first going to get a water bottle and fill it with warm water. Take the hair strands and place them on a clean surface before spraying them with water.

    High Porosity. The water will instantly absorb into the hair strands.

    Low Porosity. The water will bead up on top of the hair strands because the hair is rejecting the moisture or water.

    3.The Finger Slide Test. With this test you are going to just run your fingers up and down the shaft of the hair strand. How that strand feels will tell you what you need to know about your hair’s porosity type.

    High Porosity. Your fingers will smoothly glide down the entire shaft of the hair no matter if you are moving up or down the hair shaft.

    Medium/ Normal Porosity. It will feel like the hair is resisting your finger to slide down the shaft, but it will still glide down easily.

    Low Porosity. When sliding your finger down the hair shaft it will feel overly bumpy.

    In conclusion, when it comes to your hair’s porosity type it can be changed through hard-work and dedication. Medium/ Normal porosity is the goal we want to make it to. It allows the hair to obtain the moisture it needs to be healthy. You just have to stay consistent with your routine.

    Understanding your hair’s porosity type is the first step to understanding your hair. It is the second step to creating that healthy hair care routine, because it gives you an end goal. Once you know where you are going, figuring out how to get there is going to be a little easier. It makes it easier to pick out products because you know what your hair needs.

    Leave a Reply

    Your email address will not be published. Required fields are marked *

  • Hello Pretty & Textured Family!

    Hello Pretty & Textured Family!

    Hello everyone and welcome to the Pretty & Textured website. We are currently working hard to update the website for the new year. There will be more content, ebooks, and templates available all at a later date.

    We hope everyone enjoys their New Year turn ups. We will see you in 2026! Can’t wait!

    Remember, YOU DEFINE YOUR CURLS!

    xoxo,

    Porscha Teraz

    Pretty & Textured Founder/CEO

    Stock photo of unrecognized black woman with cool braids over brown background.